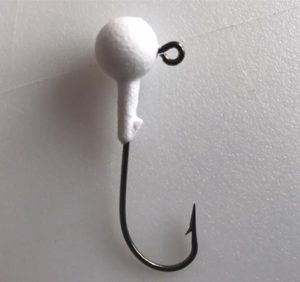
“How To” Make Floating Jigs
There is some pride that goes into making something yourself. And with the Walleye Run just about to start, there is a big interest in making your own floating jigs. To get some expertise we reached out to a couple of the Maumee River Walleye Run members to get their knowledge on building floating jigs.
The reality is it’s not that expensive to make them and it is fun way to get in the fishing mood before the ice melts. Let’s learn from a couple guys who have some floating jig head making madness
Tools Needed
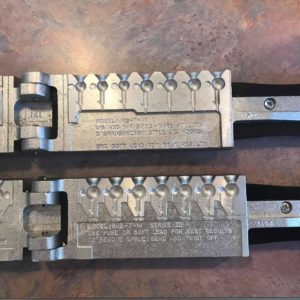
- Do-It Jig Molds. 1/8 or 1/4 oz. size mold with a collar.
- Hooks. Size #1/0 or #1. Use strong sharp hook that are not to thick to penetrate a walleye’s mouth.
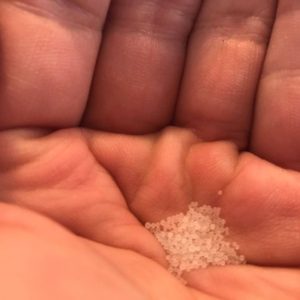
- Styrofoam beads https://shop.hagensfish.com/index.php…
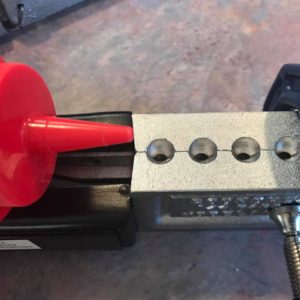
- Ketchup bottle: Something to deliver the Styrofoam beads into the molds. 2 inch C-clamps to hold the mold together.
- Toothpick
- Cutting board
- Craft paint: Select the colors you would like your jig heads.
- Spray paint: Specifically if you want two tone heads
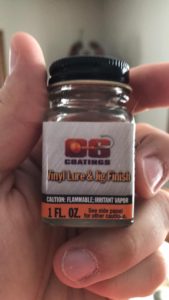
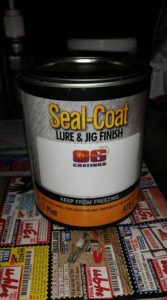
- Seal-Coat Lure & Jig Finish
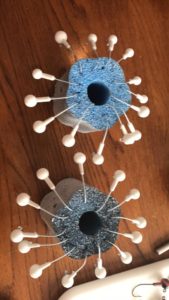
- Foam noodle: Styrofoam or pool noodle to keep floaters separate while they dry between painting
- Eye cleaner
Step by Step Instructions: Making Jigs
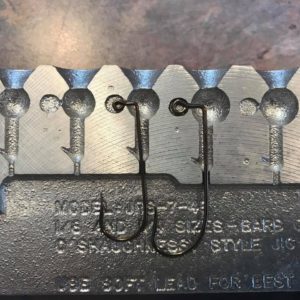
- Place #1/0 or #1 hooks in the Do-It Mold.
- Clamp the Do-It Mold closed with the C-clamp.
- Fill the mold full of Styrofoam beads using the ketchup container to help.
- When the beads start to come out the top, take a toothpick and stir it a couple times trying to get more of the beads to fill the gaps and air pockets
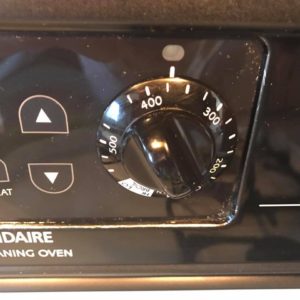
- Put the molds on a cookie sheet.
- Then place that in the oven for 16 minutes at 360-370 degrees.
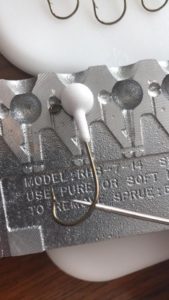
- After removing from the oven, let it cool for approximately 10 min pry out the hooks. To expedite cooling, place the molds in a 5 gallon bucket of water for few minutes.
- Cut the excess off the top of the floating jig head with a razor. Just take a razor blade and rock it back and forth while applying pressure.
Step by Step Instructions: Painting Jigs
- Stick your hooks in a pool noodle or Styrofoam block to hold the jigs.
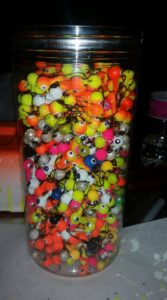
- Paint your jig with the craft paint of your favorite colors. Allow plenty of time for drying.
- (Optional) If you want a two-tone jig use spray paint as a second coat.
- Add eye balls on the side of the floater using the Black Paint Markers. Some paints do not mix well together, you’ll need a little trial on painting. Do a painting test, run on one jig before painting all of them.
- After the undercoat is dry paint with the Seal-Coat Lure & Jig Finish. This gives them a hard outer layer. Seal-Coat dries quick and allows you to package jigs together. Other variations and brands left floaters tacky and jigs would stick together.
Anytime you make your own stuff there will be some trial and error expected. You’ll definitely want to make a couple test runs to achieve the best result. Thanks to both Rick John Banasiak and David Fox for giving us the know-how on making floaters yourself. Feel free to reach out to Rick if you have questions at paintyoursky@yahoo.com
These pictures will help you walk through the process with ease. Thanks to both Rick John Banasiak and David Fox for giving us the know-how on making floaters yourself.